How to Surf Better Part 9 of 9: Packing for a Trip
Share
Once you have integrated all of the surf tips from this blog into your approach, your comfort and performance in the water will likely see some noticeable improvements.
Progress like this deserves acknowledgement, and there’s no better way to reward yourself for all of the hard work you’ve done than to go on a surf trip!

Checklist for Packing
Once you decide where you want to go and get all of your flights and logistics in order, the last thing you have to do is pack for the trip. While this might seem pretty straightforward, there’s actually a lot more to packing for a surf trip than simply chucking some boards in a bag. Not only do you want to make sure that you have everything you need, but you also need to pack it in a way that gets it to your destination safely. Here are a few tips to help you pack for your first surf trip properly.
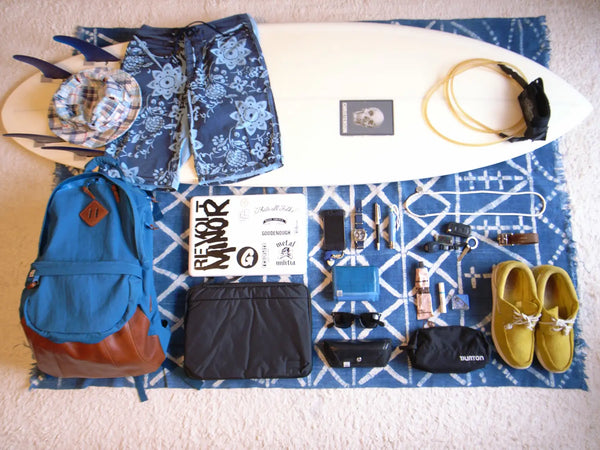
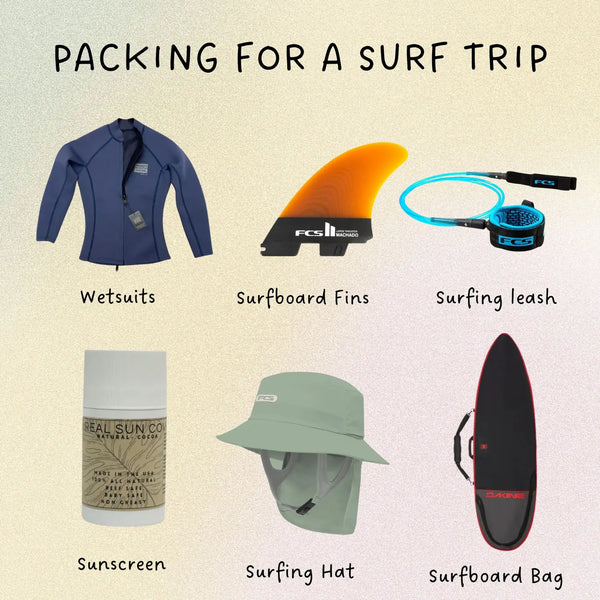
- Make a checklist to ensure you have everything you need. This should include boards that are appropriate to the waves you plan to surf, extra leashes and wax, appropriate swimwear (ranging from bikini/boardshorts to wetsuit top/spring suit/full suit, depending on water temperature), sunscreen, fins, a sun hat and sunglasses, a rashguard (for hot tropical destinations), clothes for your down time on land, a book (or other entertainment for long layovers in airports), surf forecasting and guiding apps specific to the area you are visiting, an extra copy of your passport, driver’s license, travel insurance, and credit card (emailed to yourself for safe keeping), a phone with an international plan or sim card (if you plan to stay connected during your trip), a towel, a water bottle, and familiar snacks for long days at the beach.

Packing Your Board Bag
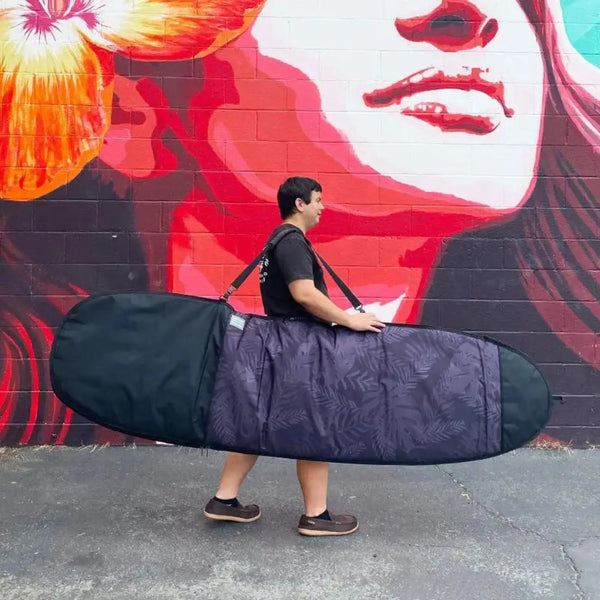
- Make sure that your board bag is sturdy and well fitted to your boards. This is major source of protection for your most precious belongings, and if you arrive to your destination with busted boards, you could end up ruining your entire trip. Don’t overstuff your board bag, as this makes it more likely that a zipper will pop or your boards will get dinged. Also, it is generally a bad idea to use a longboard bag for shortboards—doing so adds extra weight, and you’ll have to fold the excess bag length over and tape it down, which is inconvenient and makes airline baggage staff upset.
Minimizing Baggage Costs
- Speaking of airline baggage staff, plan ahead to minimize your baggage costs. Research the airline you are planning to fly, and make sure that the extra cost of your board bag doesn’t actually result in a more expensive ticket that if you’d flown another airline with free bags. Also take note of the maximum weight allowed for your bag. If you are overweight, they will likely charge you. Some airlines also limit the linear size of a board bag (length + width + height). The last thing you want to do is show up at the airport and find out that they won’t accept your bag because it’s 117 linear inches instead of 115. (As a rule of thumb, 115 linear inches roughly equates to a board bag that is 6'6" x 24" by 12".) Finally, some airlines will limit the number of boards you are allowed to put in a bag. If you are trying to sneak extra boards on, one good strategy is to put two boards in one sock. This makes it less likely that baggage personnel will notice how many boards you have in the bag. Of course, the ultimate goal is to sweet talk your way into a free board bag, so try not to be too devious or argumentative with the check-in agent. And never underestimate the power of bribery—airline agents love to be surprised with some chocolates or other treats. Just make sure you present your gift without any expectations. If they take the chocolates and then still charge you for your board bag, don’t make a big deal out of it. It’s always okay to be nice for the sake of being nice, even if you don’t get anything out of it.
Protecting Your Boards

- Pack carefully so your boards have the best chance of staying safe. First of all, removable fins make it much easier to pack boards and transport them without damage. If you have to travel with glass-on fins, get a foam block for each board to help protect the fins. Always sock each board individually to avoid glass-on-glass dings or wax on the bottom of boards. And for that matter, it’s usually best to strip the wax off your board before flying, anyway. If you don’t have socks or day bags for each of your boards, layer towels and wetsuits between boards to help protect them. You can also use towels and wetsuits to protect the rails, noses, and tails of your boards. Better yet, consider getting a bunch of pool noodles or similar foam tubes and cutting them in half, then putting them over the rails of your boards to help protect them. Finally, try to keep the total weight of the board bag down. The easier it is for the ground agents to lift and move your bag, the less likely they will move it in a way that results in damage.
Once you are packed and ready to go, the last thing left to do is board the plane and get to your destination. Now that you are equipped with all of the skills and knowledge you need to surf well, the world is your oyster. Create a bucket list of waves you want to surf and destinations you want to visit, check that board bag in, and get busy exploring and shredding!
SHOP SURF ACCESSORIES AND APPAREL
More Articles👈
Waves of the North Shore Series
